
Friday, September 30, 2011
Wednesday, September 28, 2011
the Restraining Bolt Collection
 |
| r2builders club restraining bolts - front view |
 |
| r2builders club restraining bolts - rear view |
Various Club Restraining Bolts:
Club Restraining Bolt ver. 1
Club Restraining Bolt ver. 1.5? (RB Replicas?)
Club Restraining Bolt ver. 2
ARRI Type Restraining Bolt
These Restraining Bolts use strong rare earth magnets and steel plates. The magnet is glued in the bottom of the restraining Bolt. The plate gets placed on the back side of the door panel. To glue the magents in, I use crazy glue, epoxy or JB weld. Gorrilla Glue brand crazy glue is available at Walmart.
Booster Covers/Mounting Hole Issues
I've been having a bit of trouble fitting my booster covers to the legs... turns out a couple of mounting holes were not lining up.
Here are some comparative measurements of my Outer Legs vs. Booster Covers mounting hole patterns. All measurements are approximate:
1) The top two mounting holes on the Legs are 2.480" apart while the corresponding screw holes on the Boosters are wider, at 2.559" apart.
2) The distance between the top and bottom holes is 10.748" on the Legs vs. 10.807" for the Boosters.
3) The bottom two Leg holes line up correctly with the Boosters... no change needed.
4) The mounting holes on the legs could be larger to accommodate pan-head machine screws (Increase hole diameter to .322" min.).
I'll have to machine a new set of custom booster covers to fit my existing set of Legs.
Monday, September 26, 2011
Drilling Legs for Motor Wires
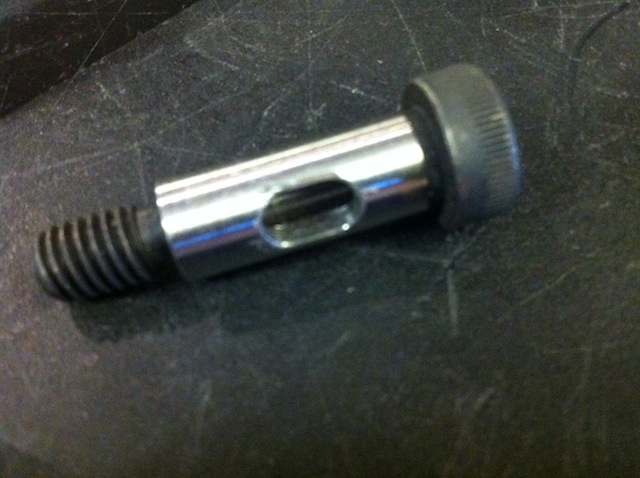
I'm using a custom CNC milled "pass-thru" bolt with my Outer Ankles and Feet.
My Version:
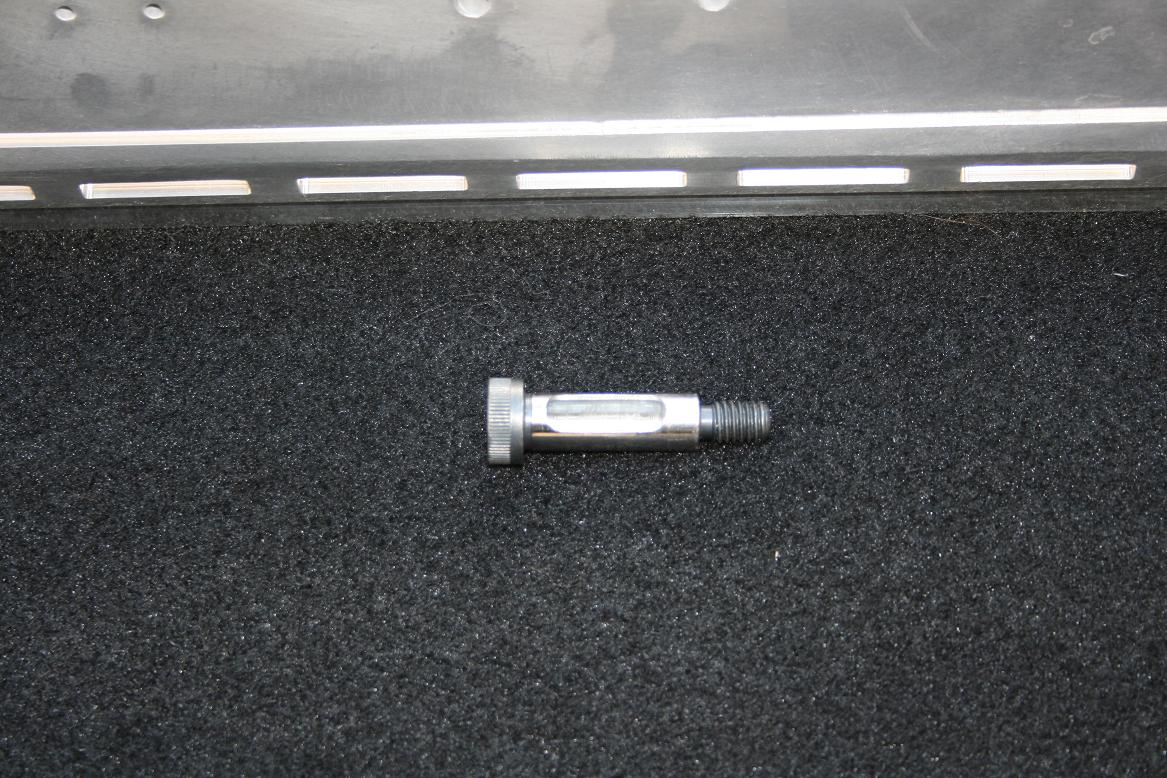 |
| CNC Milled Ankle Bolt |
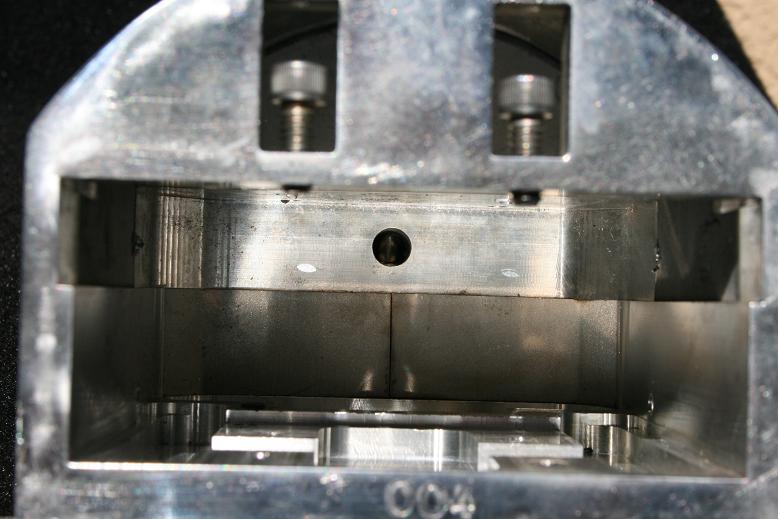 |
| Ankle with Foot (Top View) |
Note the ankle pivot bearings visible through the center pass-thru hole.
 |
| Ankle and Foot, Wired |


Sunday, September 25, 2011
New Banner!
I just joined the Bay Area r2builders group (r2sf) this week, so I thought I needed a banner too.
Thanks again, Chris! ;o)
Friday, September 23, 2011
R2 in progress, part 6


09.23.2011
Well... R2's legs are finally coming together. There was an issue with one of the Outer Ankles where the Flathead Screws used to attach the Ankle Details were not sitting flush with the inside surface of the Ankle, and as a result, the Leg was hitting the screw head, preventing it from seating properly in the Ankle. The solution? Increase (or deepen) the countersink bore to allow the screw to fit flush. Voilà! Now the Ankles fit beautifully!
Wednesday, September 21, 2011
R2 in progress, part 5

Note the shiny new Large Data Port from Al Eisenmann. Nice!
Also... replaced my Resin Holoprojectors with Aluminum HP's. Muuuch better.
Tuesday, September 20, 2011
Subscribe to:
Posts (Atom)